Getting started
Introduction
In this guide you will learn from installing Hiker to displaying the administration dashboard page.
Installation
Create your Laravel project
First of all, you have to create a Laravel project. You can read more about it here.
Hiker is a Laravel package that works together with Trail. So you need to install them as a Composer package.
Did you know ?
To know more about Trail you can read the resource page about it.
For production development
First, configure your composer.json file to locate the necessary packages.
{
    //…
    "repositories": {
        "hiker": {
            "type": "vcs",
            "url": "https://github.com/whitecube/hiker.git"
        },
        "trail": {
            "type": "vcs",
            "url": "https://github.com/whitecube/trail.git"
        }
    }
}
Once the composer.json is updated, you have to run composer install or composer update command in your terminal.
Finally, run the following command in your terminal:
composer require whitecube/hiker
php artisan hiker:install
Did you know ?
Running composer install or composer update in your terminal will prompt you to provide a token to authorise your request. If you do not have a token yet, contact us so we can provide you with one.
For local development
This way to install Hiker and Trail is only usefull if your are working directly on Hiker or Trail. If it is not the case you can install hiker for production development
First, clone both Hiker and Trail repositories on your machine wherever you want.
Configure your composer.json include your previously cloned Trail and Hiker paths.
{
    //…
    "repositories": {
        "hiker": {
            "type": "path",
            "url": "../hiker",
            "options": {
                "symlink": true
            }
        },
        "trail": {
            "type": "path",
            "url": "../trail",
            "options": {
                "symlink": true
            }
        }
    }
}
Be sure to include the symlink: true option, so that any changes you make in Hiker or Trail will be immediately available in your application.
Finally, run the following command in your terminal:
composer require whitecube/hiker
php artisan hiker:install
Register Hiker in the service provider
Once hiker is installed, you can now add the following lines in your config\app.php to register hiker in your service provider.
return[
    //…
    'providers' => [
        //…
        App\Providers\HikerServiceProvider::class
    ],
];
Configuration
Now that Hiker is installed in your project, let's make it work as it should.
Url configuration
To configure your hiker urls and sub-domains you can configure the url to access to your admin inteface by tweeking these settings:
-
TRAIL_CLIENT_PREFIX, -
TRAIL_API_PREFIX, -
TRAIL_CLIENT_DOMAIN, -
TRAIL_API_DOMAIN.
…_PREFIX values are set to false by default, you can replace it by admin if you want your hiker inteface or you api to be located to http://my-website/admin/ or http://my-website/api/,
…_DOMAIN values are set to false by default, you can replace it by admin if you want your hiker inteface or you api to be located to http://admin.my-website/ or http://api.my-website/,
Prepare migrations
Hiker (and more specifically Trail) is delivered with its own default migrations. To avoid any conflicts, you must delete password_resets and users migrations in your database/migrations directory. Then you can run the following command:
php artisan migrate:fresh
Update users model
Hiker and trail have their own custom user table called trail_users. To use it, please extend your App\Models\User with Trail\Models\User. To make it fully compatible with Trail\Models\User, you must add the following traits:
use Trail\Models\Concerns\HasUuid;
use Trail\Models\Concerns\HasPrefix;
use Trail\Models\Concerns\HasStatus;
use Trail\Models\User as Authenticatable;

class User extends Authenticatable
{
    use HasUuid;
    use HasPrefix;
    use HasStatus;
    // ...
}
Seed some users
Now that your User model is correctly configured, let's seed the database with users.
In your Database\Seeders\DatabaseSeeder, you can add the following lines to the run() method:
\App\Models\User::create([
    'name' => 'Example',
    'email' => '[email protected]',
    'password' => bcrypt('password')
]);
Then yon can seed your database by using this command:
php artisan migrate:seed
Logging in
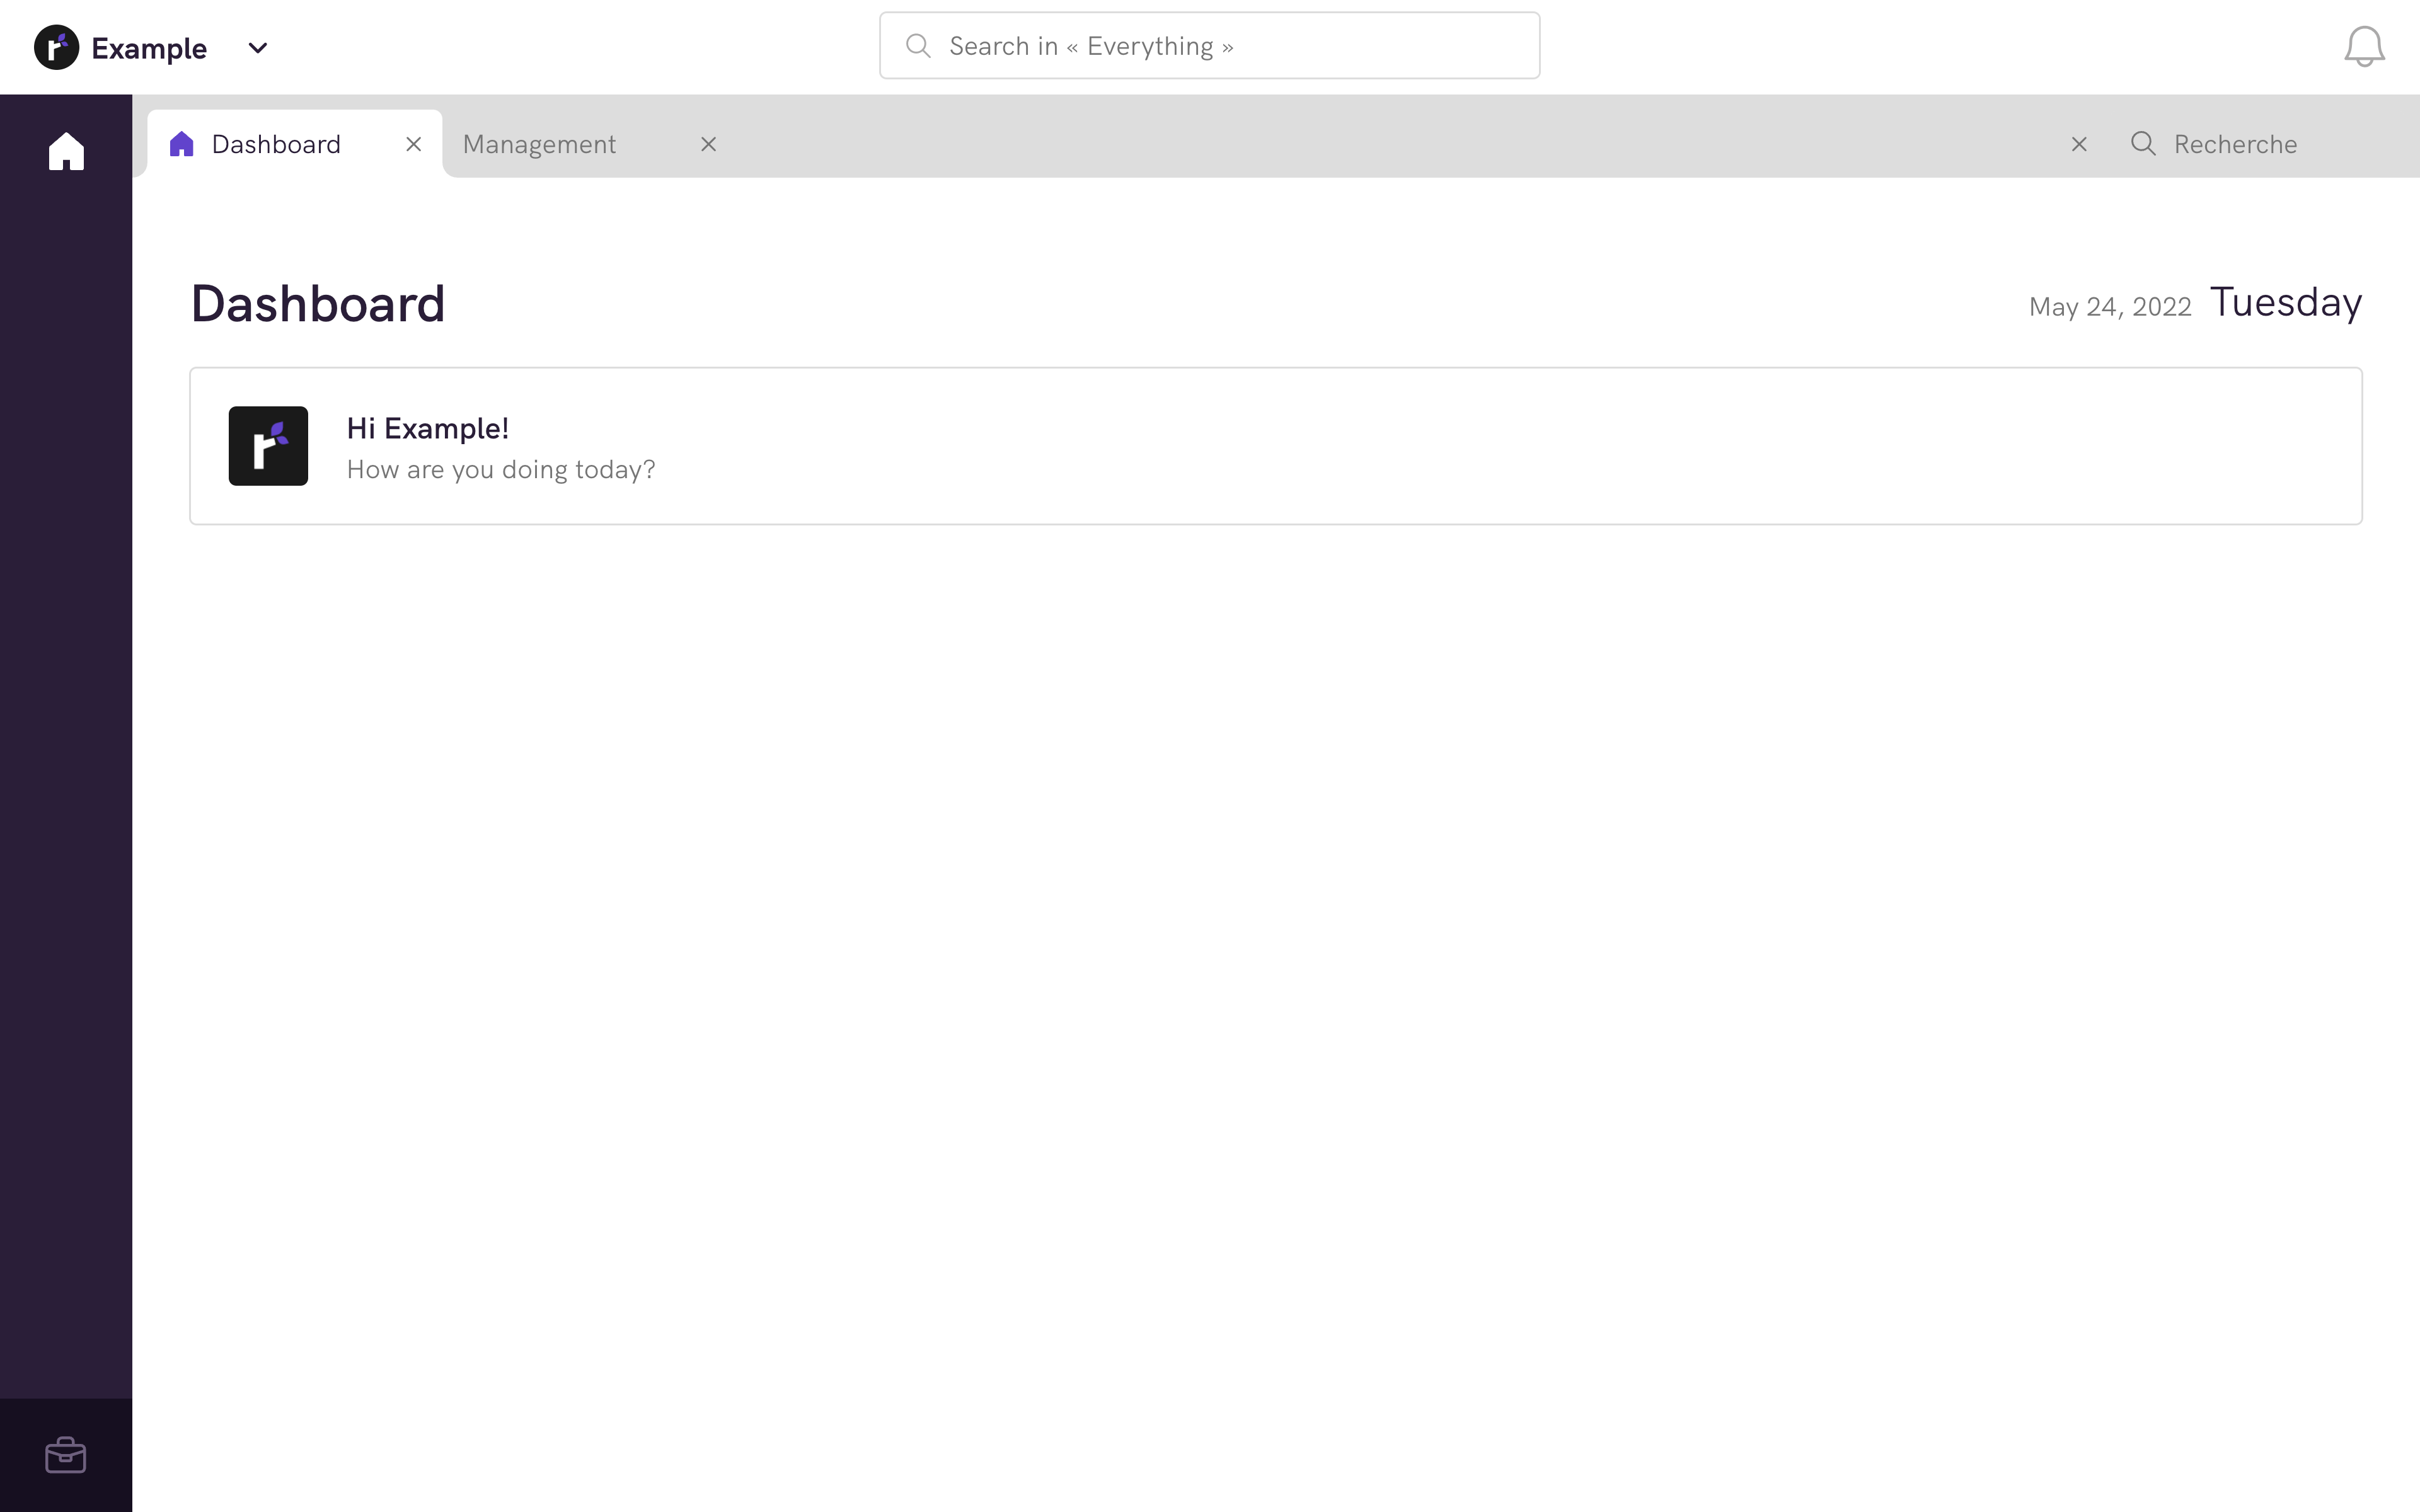
You can now log in to your freshly made account!

Congratulation, your hiker dashboard is now working fine!